DIY Wine Cork Jewelry Holder - How to Make a Wine Cork Holder for Your Necklaces
How many times have you gone through your jewelry and found all your necklaces completely entangled? We know we lost count many years ago. Thankfully, a really cool jewelry holder can help solve this trouble for y'all. Plus, it will look awesome on the wall!
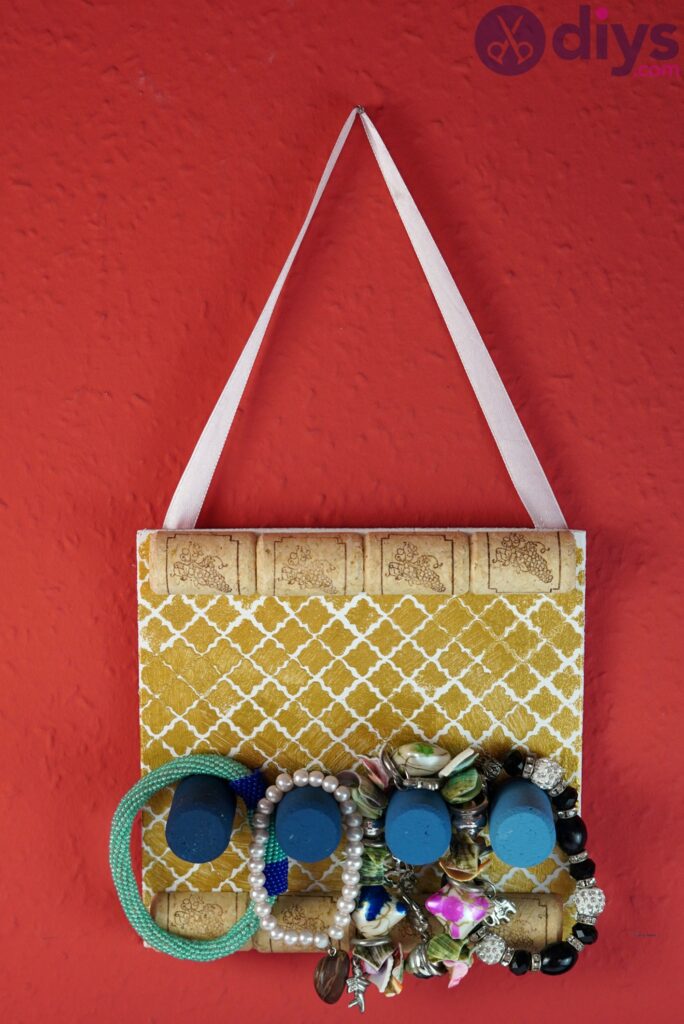
Our wine cork jewelry holder is chic, looks glamorous, and allows u.s. to sort out all the necklaces and bracelets. You'll be able to hang all your favorites to they're easy to get when yous need them.
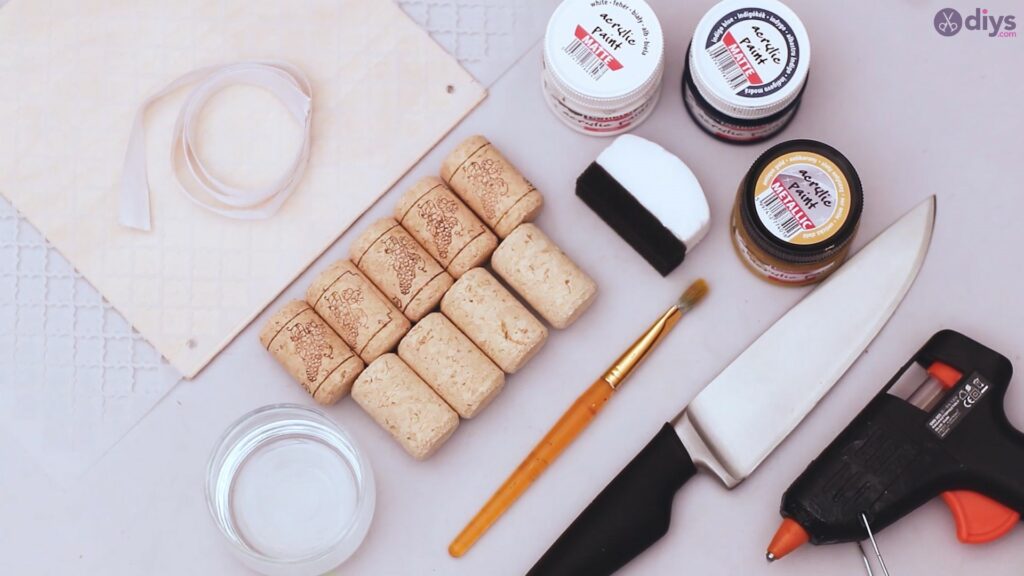
Materials for vino cork jewelry holder
- wine corks
- wood board
- painter template
- sponge
- silk ribbon
- white, gold, and blue acrylic paint
- paintbrush
- glass bowl
- pocketknife
- glue gun
How to make a wine cork jewelry holder
Practise you lot have all your materials gathered up and inside arm'southward length? Dandy! You don't want to go running around looking for a thing or two you forgot.
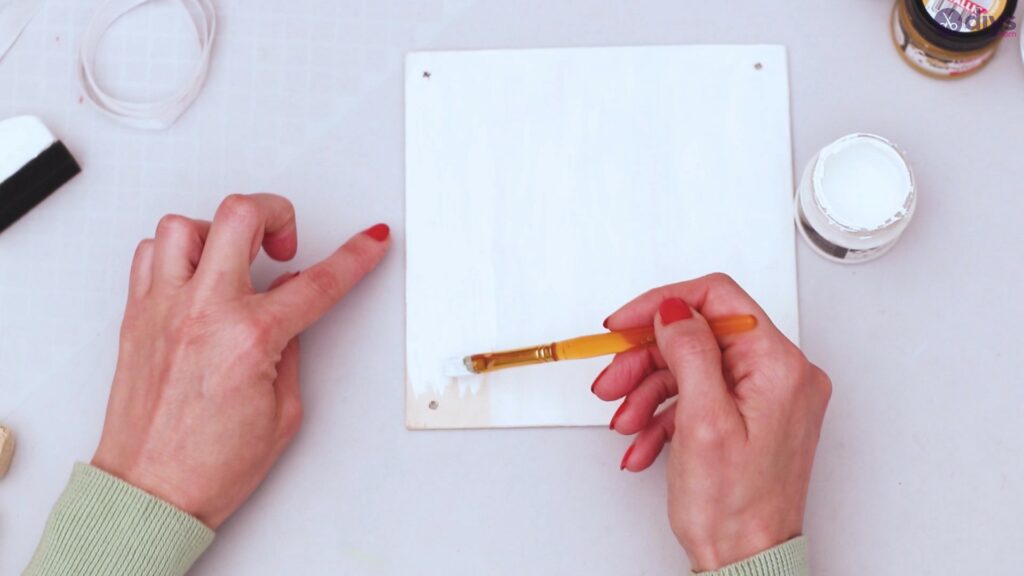
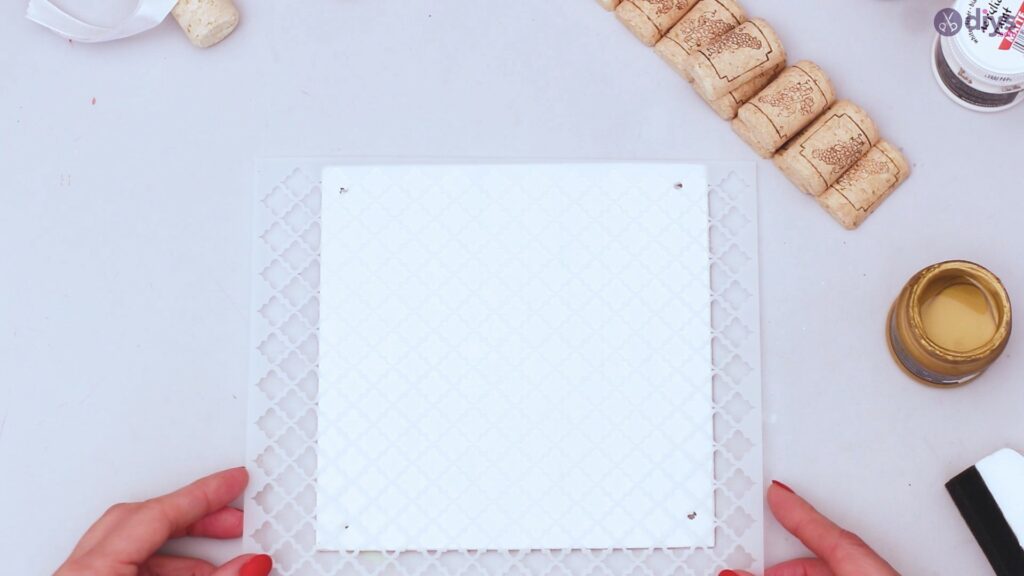
Step i: Pigment the wood board
We're going to start out with our wood board. We used a square one, only you can go for a unlike shape and adjust the tutorial as you lot go.
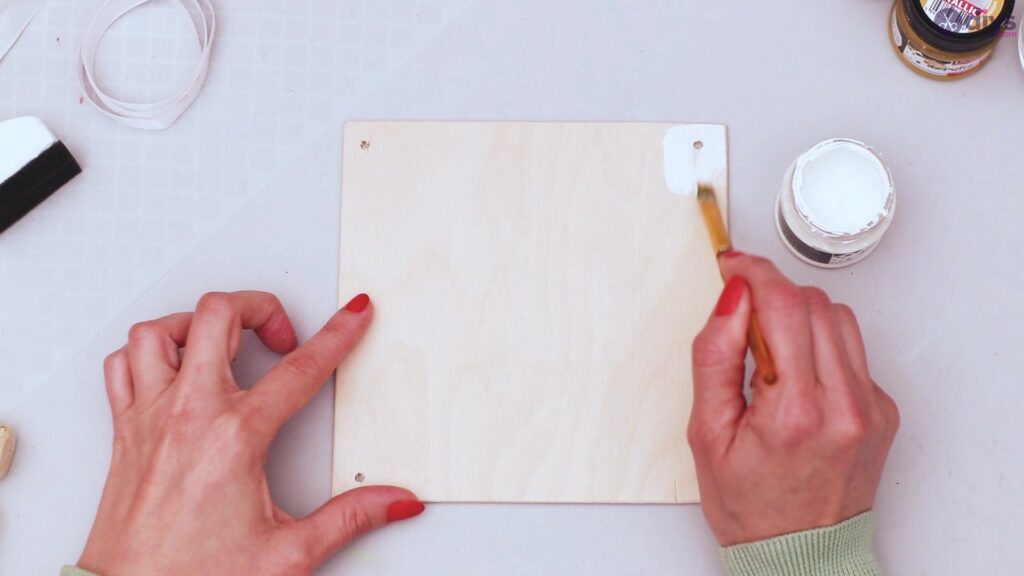
A bigger board may have more than room for pegs for your necklaces! Get the white acrylic paint and the paintbrush and start covering the lath with the color.
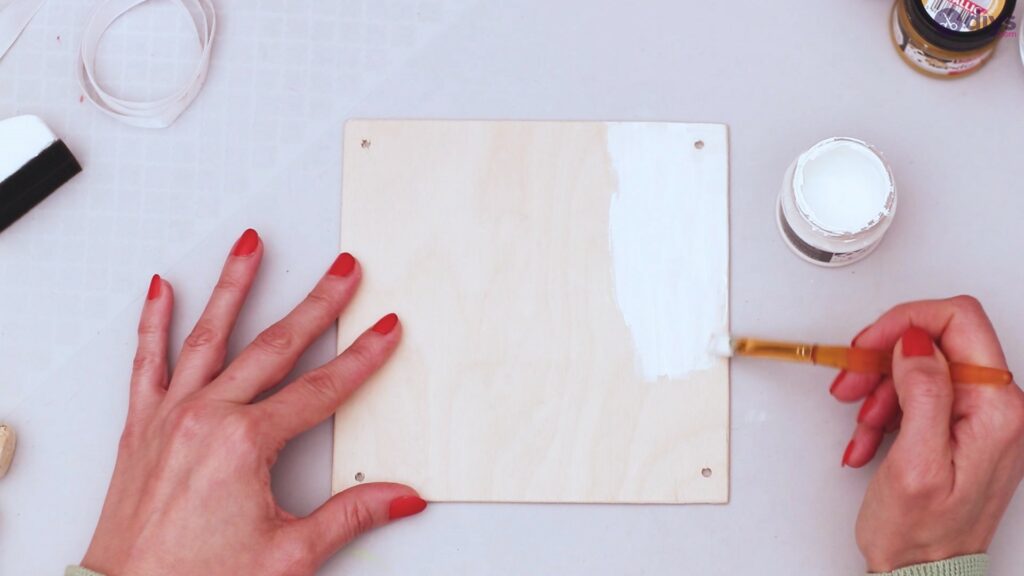
Brand sure yous cover all the nooks and crannies and that you've laid out the color beautifully over the grain of the wood. At that place'due south no need to utilise h2o at this betoken every bit it will but make the paint take longer to dry and the coverage may not be as good.
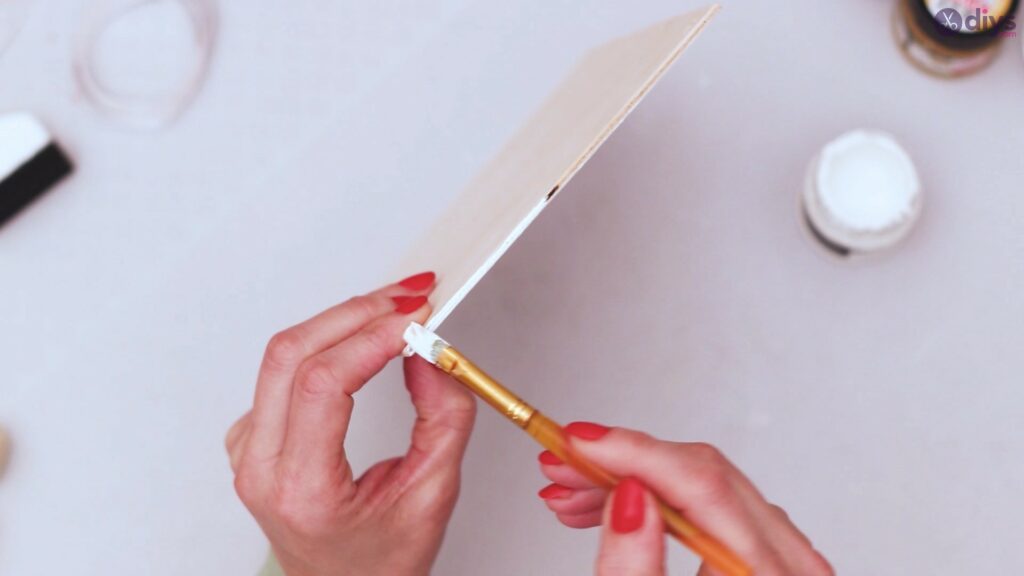
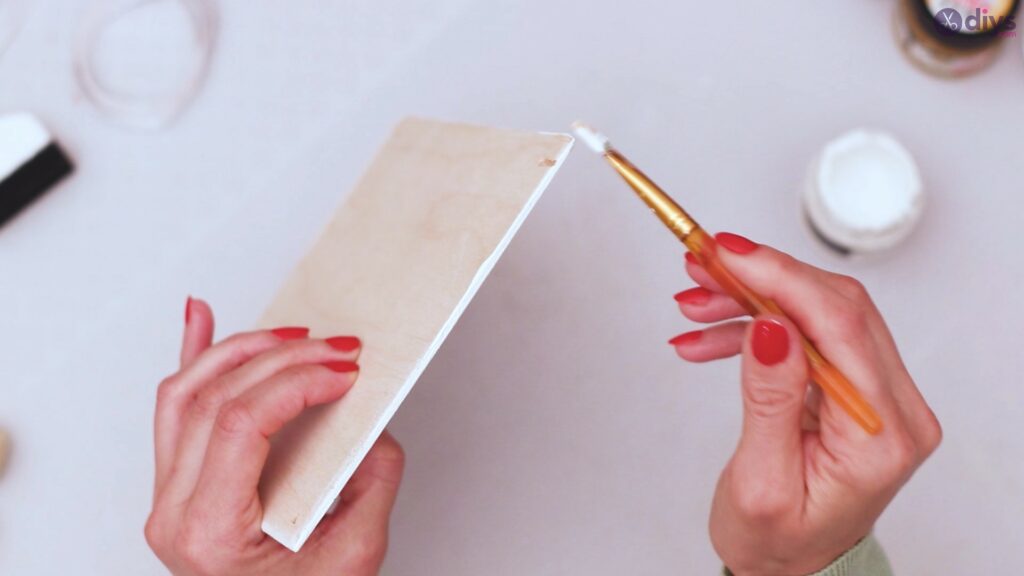
Too, paint the edges of the wood board so it looks more finished. Leaving them in the wood's natural color will make the board expect sloppy and lose that chic await we're going for.
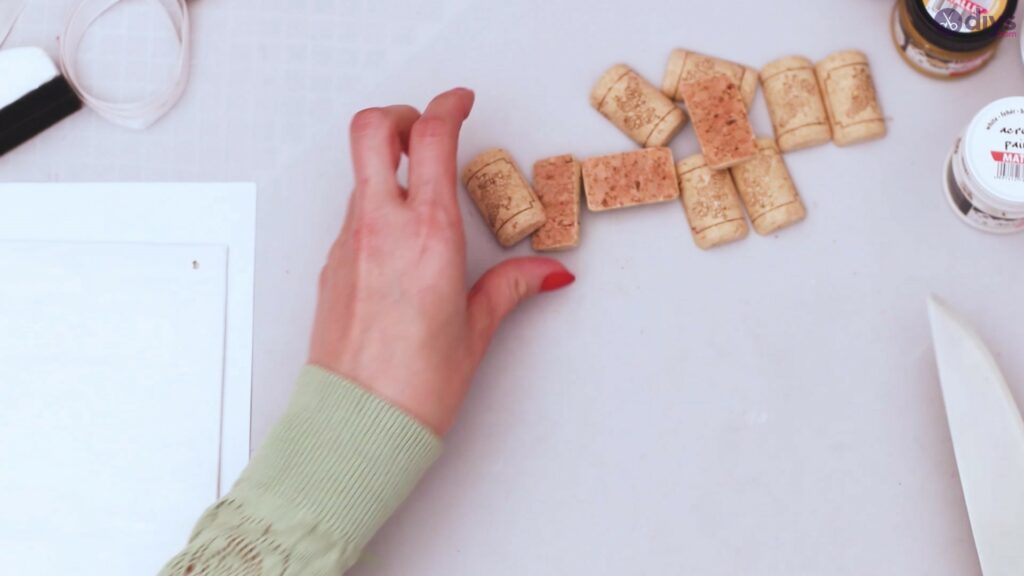
Step 2: Cut the wine corks
Next, we're going to have thewine corks and theknife and cut them vertically.
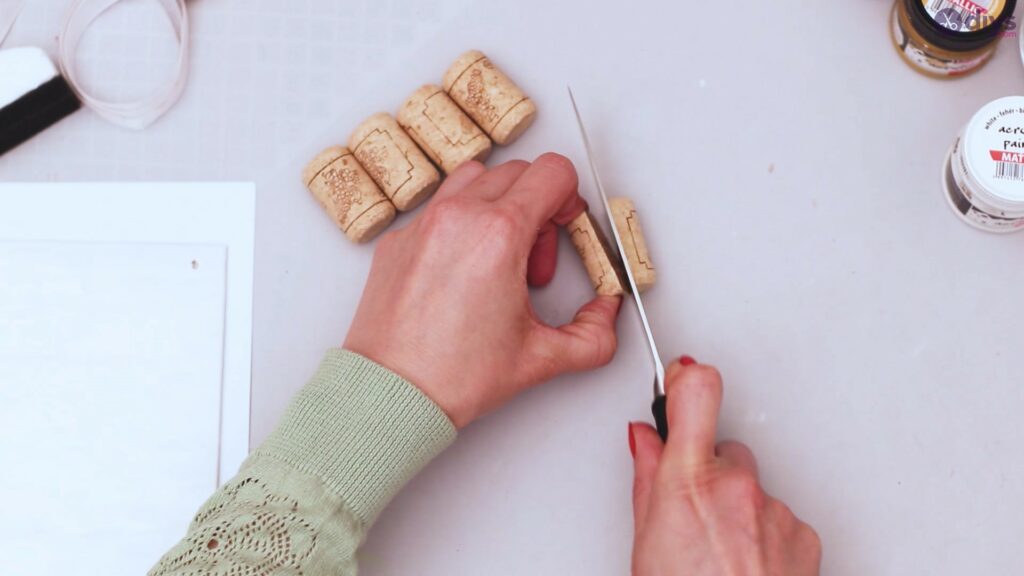
Make sure you make the cuts downwardly the middle and so the pieces have roughly the same size. You won't need to cutting all the corks, as you'll need some for the pegs later on.

If you don't know how many to cutting, try to identify some corks on the length of the lath to see how many y'all'll need. We merely needed four for our design, only y'all may need a few extra tries if you lot don't get the cut direct.
Step 3: Paint the board with the template
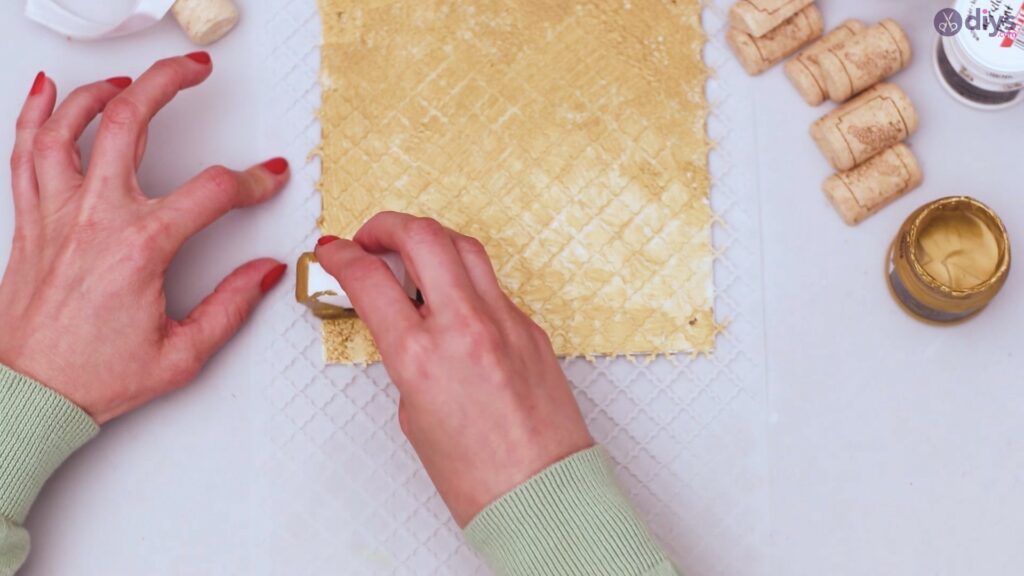
Acrylic paint ordinarily dries up rapidly, and then when the white coat is completely dry out, get the painter template and the gold paint. Our painter template has a simple blueprint, and you may non find one that's just like it, but whatever you take works just fine.
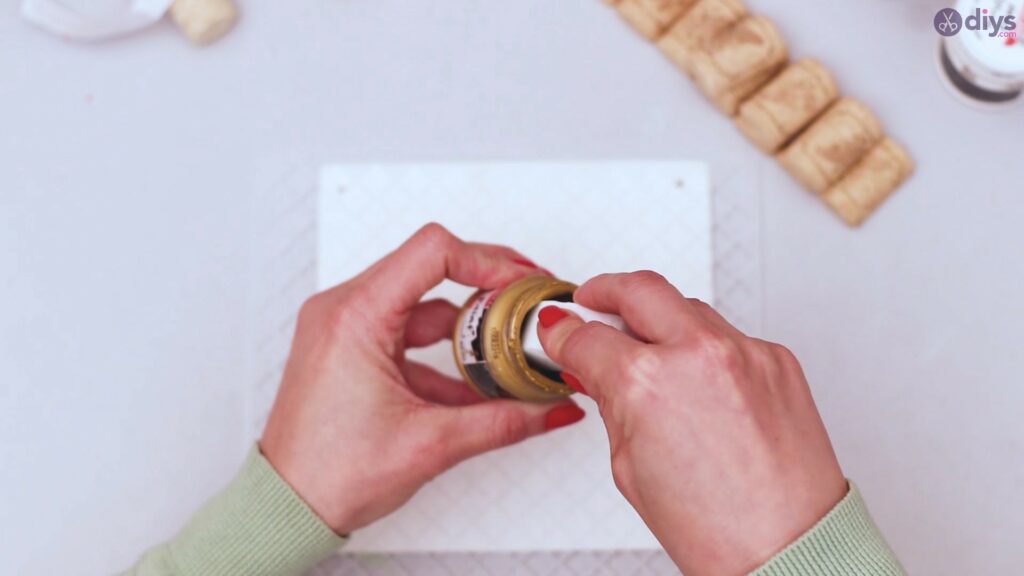
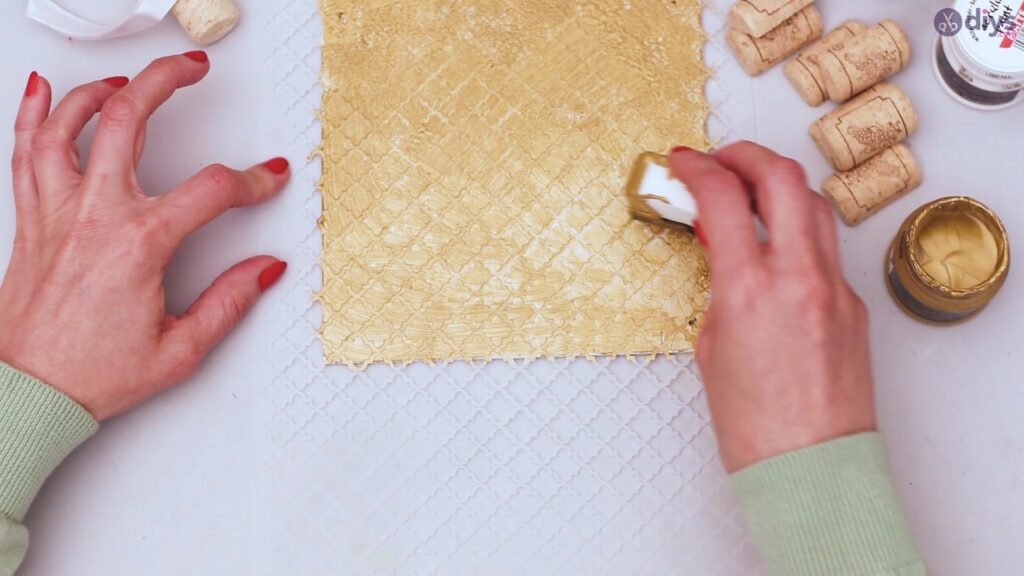
Once y'all've placed the template over the board, accept the sponge and dip it in the gilt paint. Dab gold paint over the design. Make sure the template doesn't move effectually as that would ruin the design.
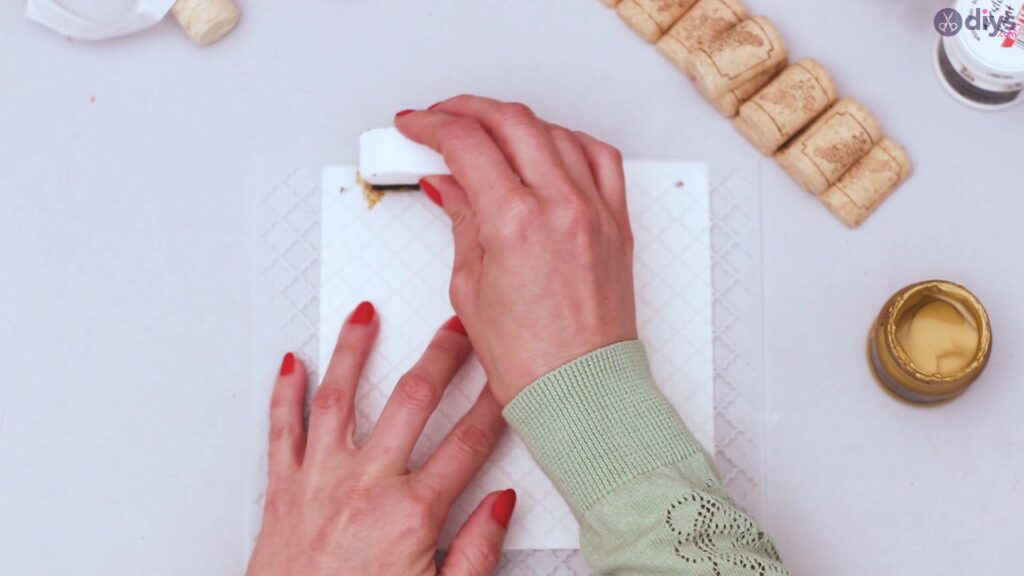
Agree the template to the lath and softly press paint over the whole board, going slowly over all areas and making sure the colour covers everything.
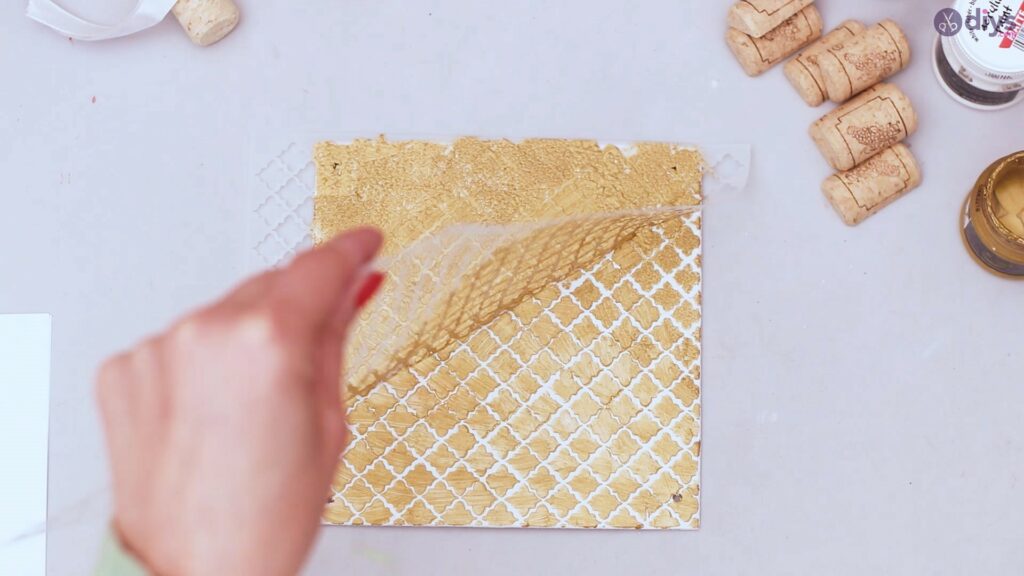
Lift the template slowly and admire how beautiful the golden paint looks over the white base of operations. Yous don't want to pull the template too brutally since the pigment is still wet.
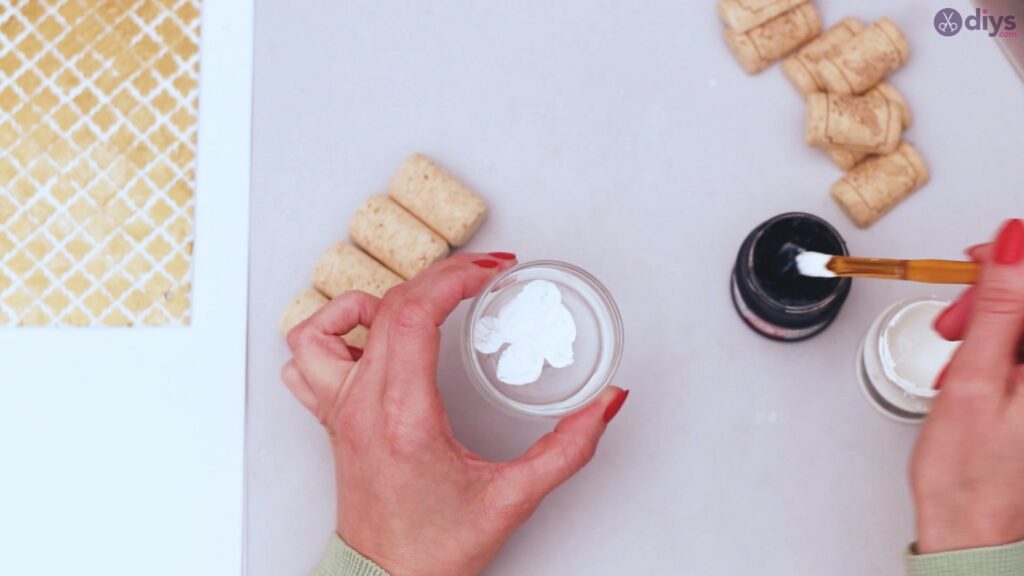
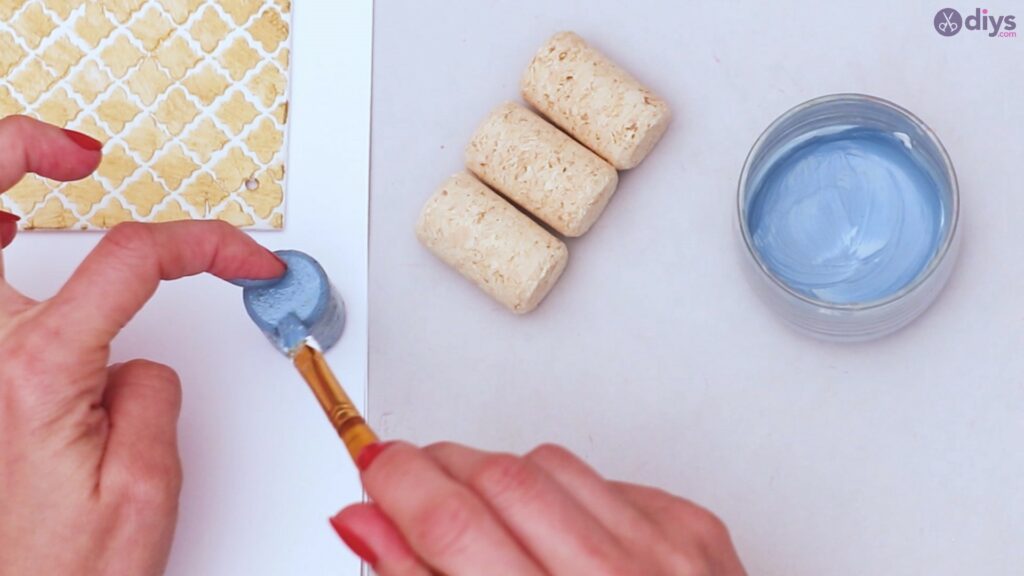
Step 4: Mix the colors
We're going to paint the wine corks next. For this, we'll demand blue and white acrylic paints. Employ the drinking glass and add some white paint. And so, dip the paintbrush in the blue paint and add to the white.
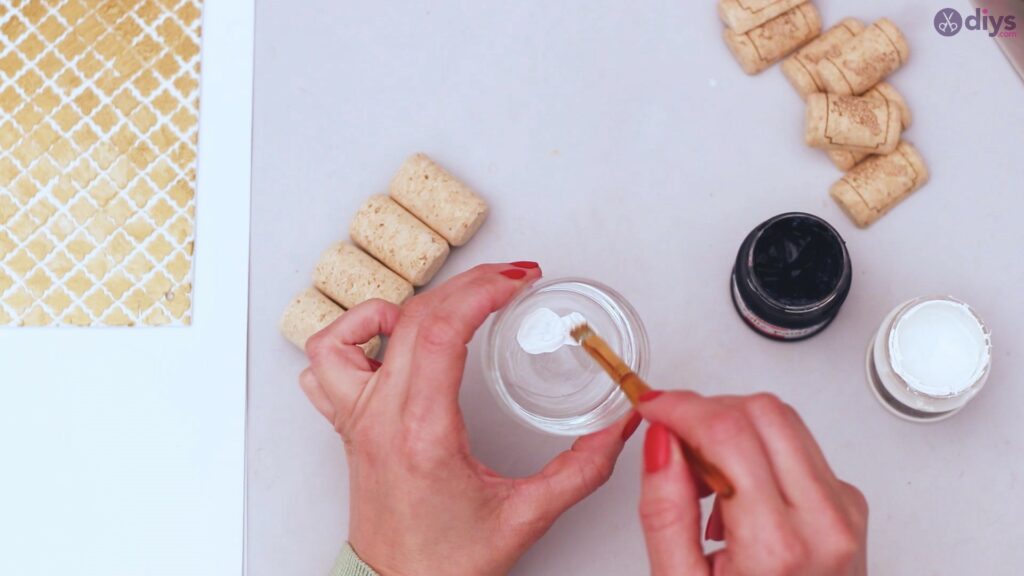
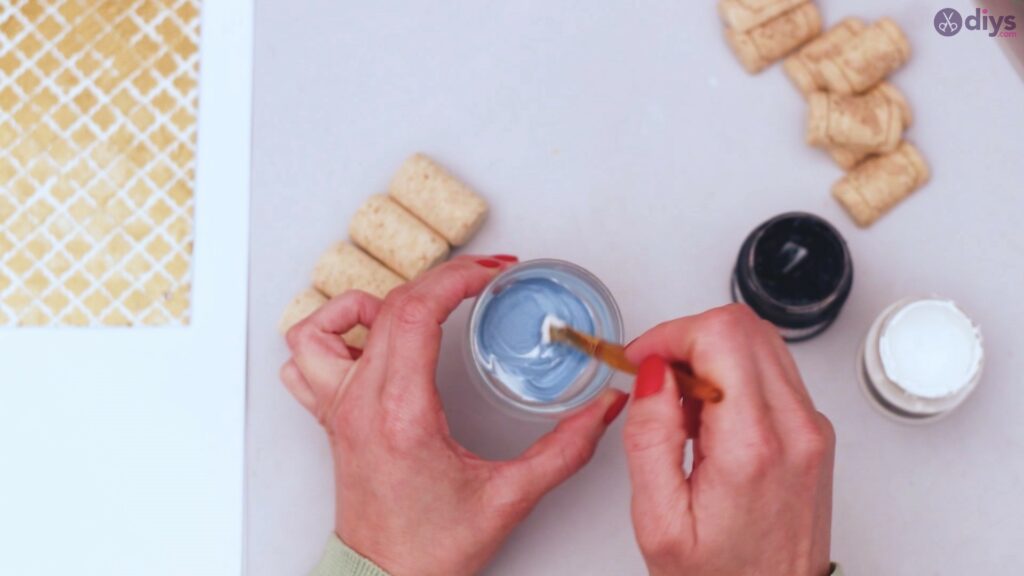
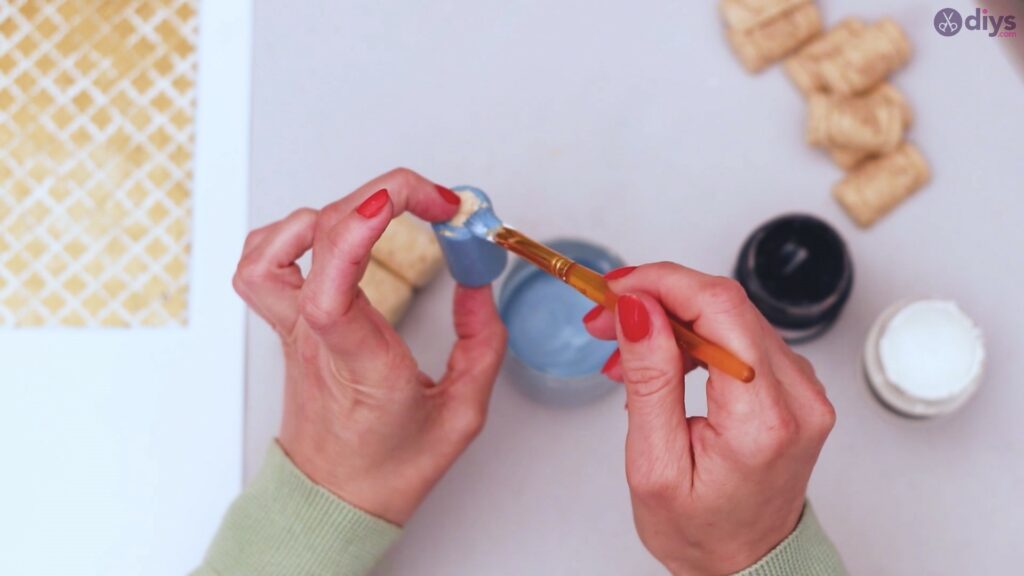
Once you achieve a shade of light blue you similar, pick upwards a vino cork and paint it on the top and the sides. You tin get out the bottom unpainted, but at least make sure the edge is covered.
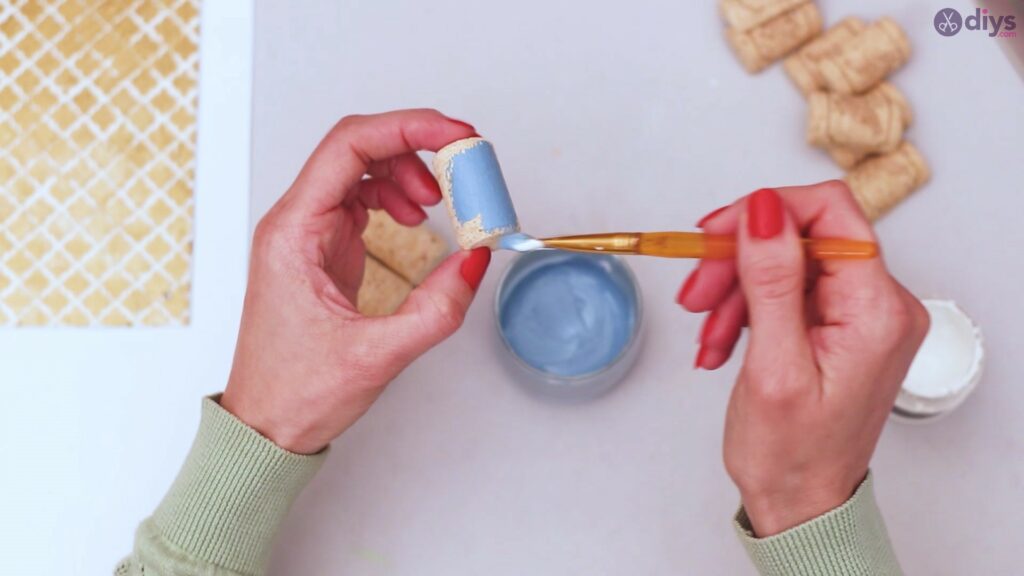
Place the painted wine cork on a piece of paper and get out it off to dry.
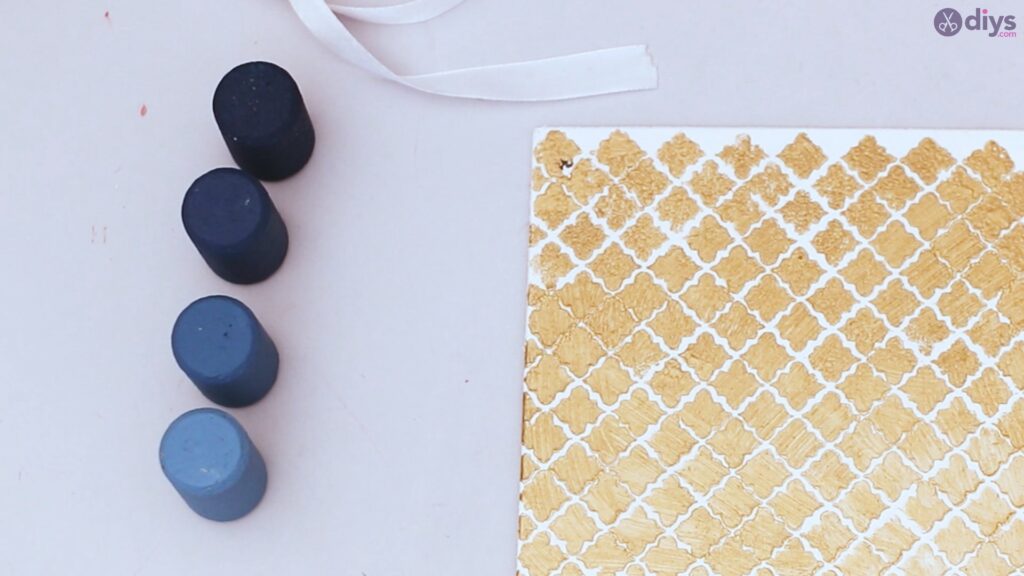
You'll want to add more than and more blueish color to the mix and paint the other vino corks in the desired shades. We chose to get with iv different shades, going from light blue gradually up to dark blue.
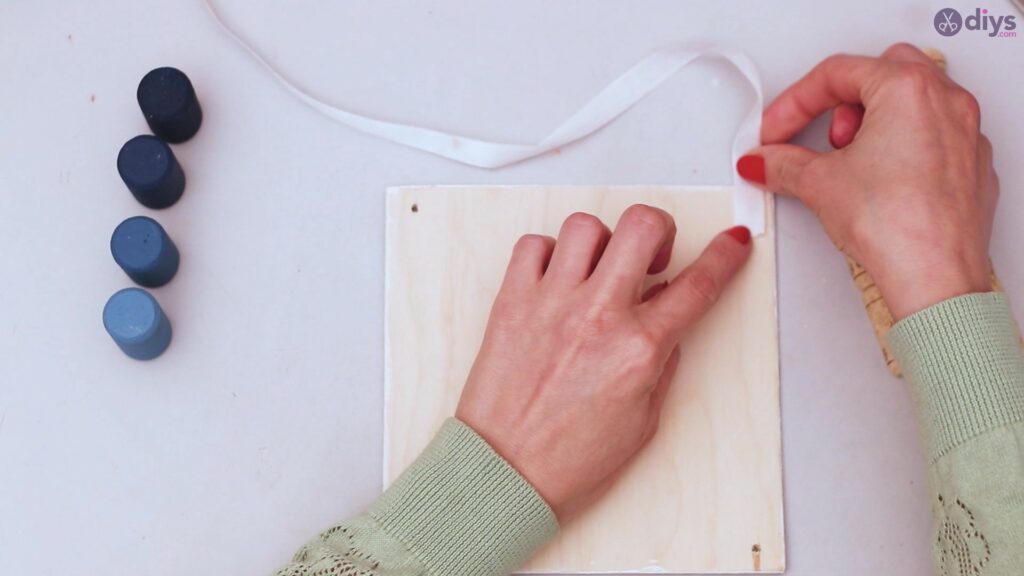
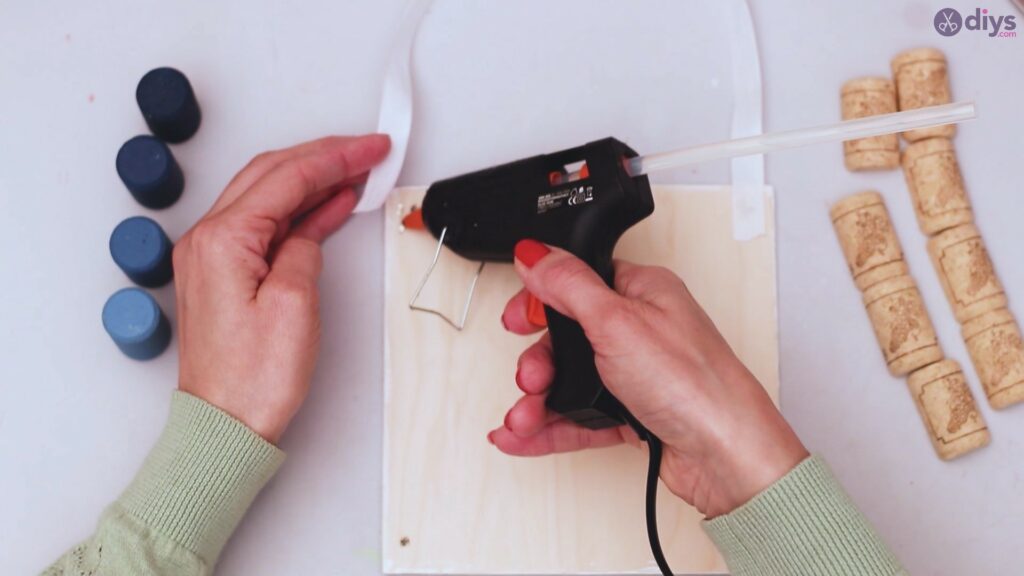
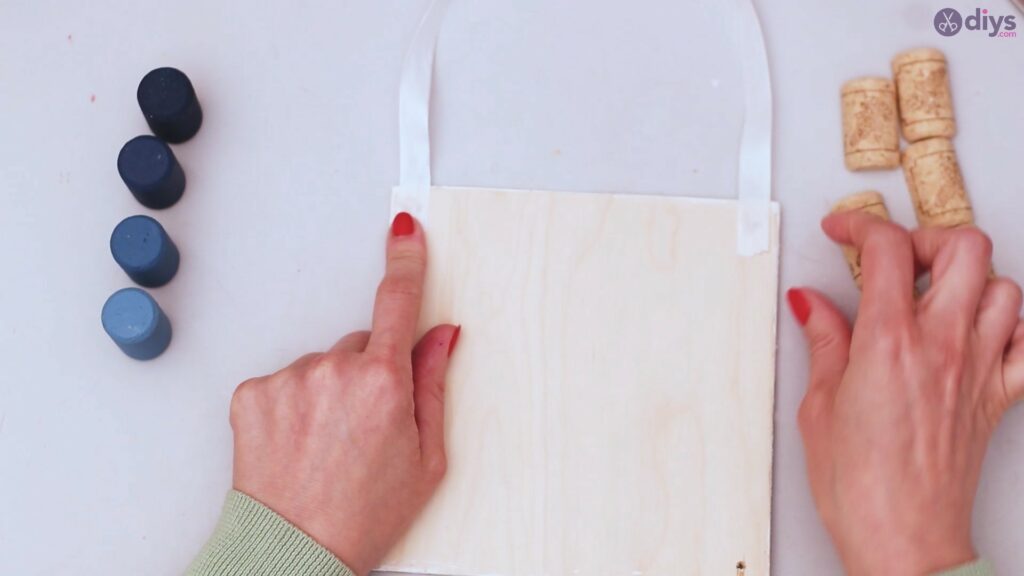
Pace 5: Add the ribbon loop
Earlier yous add anything to the front of the jewelry holder, y'all'll want to make certain y'all can hang it when you're washed.
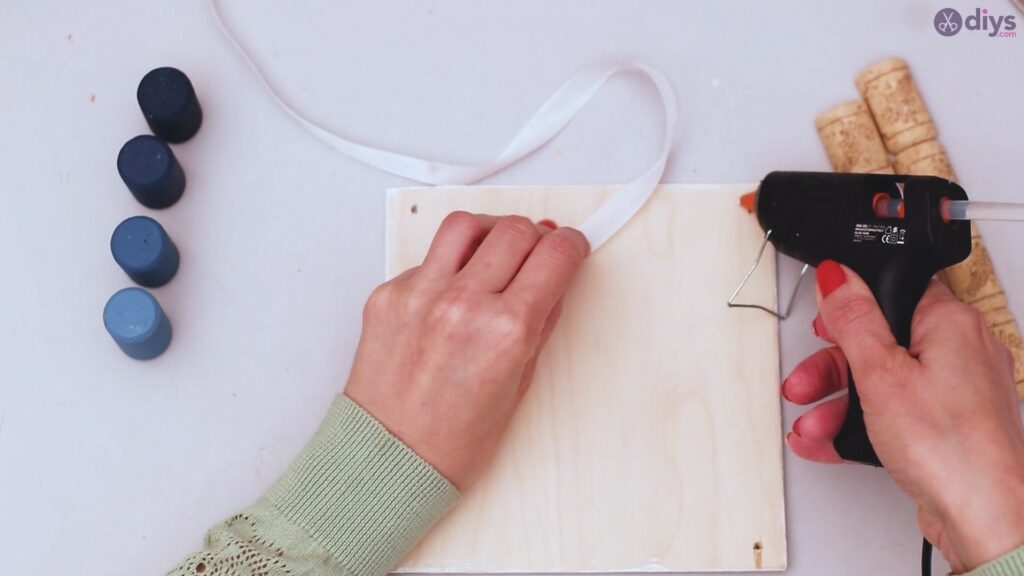
And so, get the silk ribbonand the glue gun. Add gum to the edges of the lath and press the silk ribbon into it. Make sure you lot concur the pressure for a few seconds so it all sets.
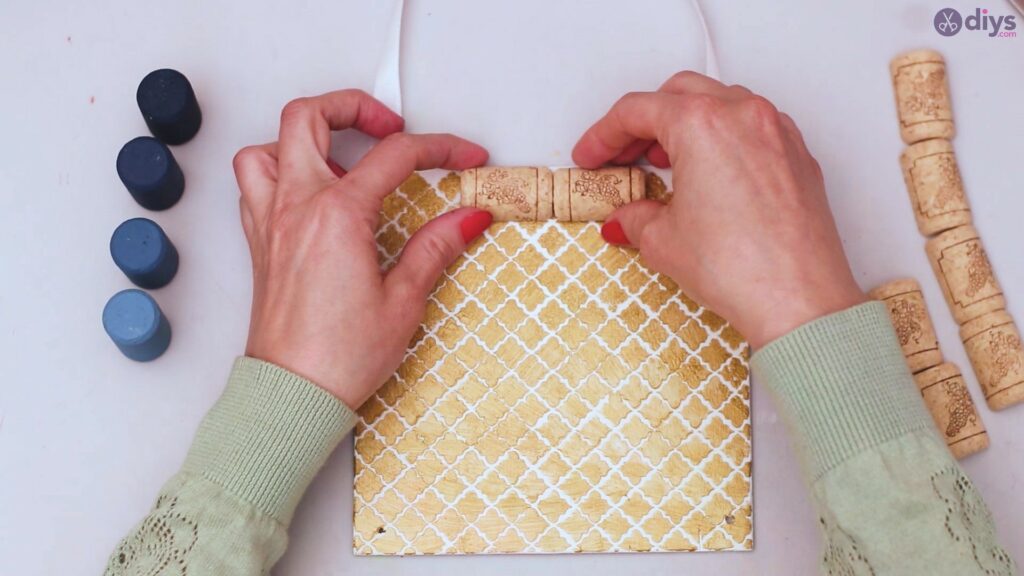
Step 6: Add the vino corks
Now it's time to add the vino corks. Turn the wood lath around and go the wine corks and the mucilage gun. Add plenty of hot gum to the back of one of the wine cork halves and printing it into the lath.
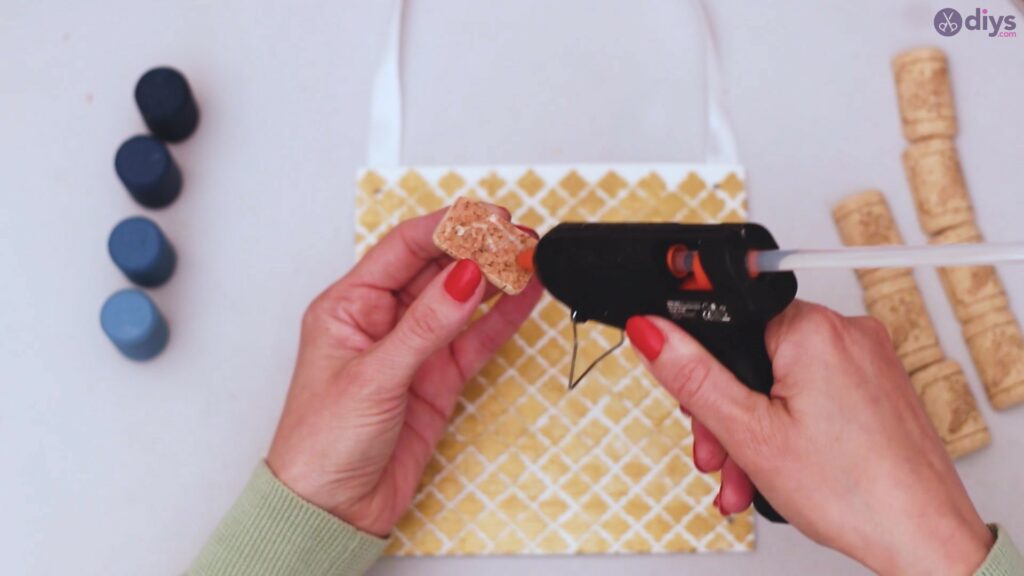
You want to line the border of the vino cork with the edge of the board. Showtime by placing them in the heart of the lath and build from at that place. In this way, it look nice as you look at it, and if they don't fit exactly, y'all tin can cut the edge of the corks on the ends.
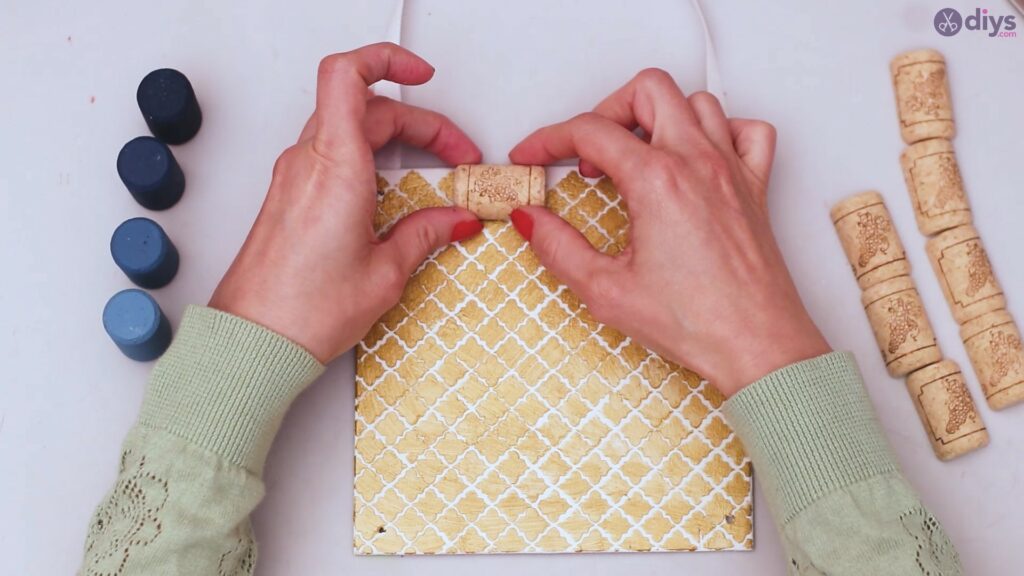
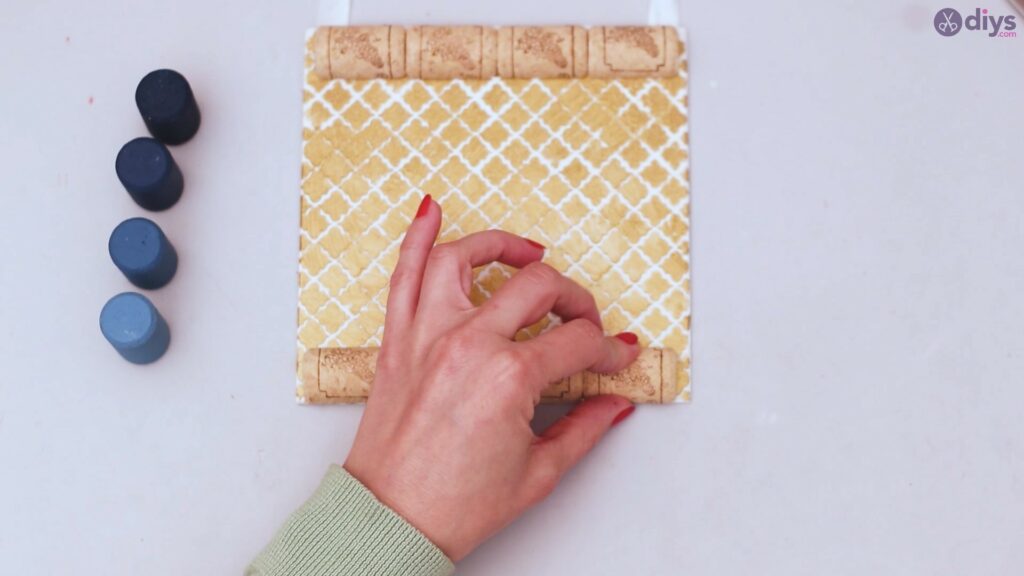
Once you've completed the upper line, it's time to exercise the same for the lower edge also. Become the wine corks, add hot mucilage, and identify them to the board. E'er remember to printing the corks to the board for a few seconds so the glue has time to set.
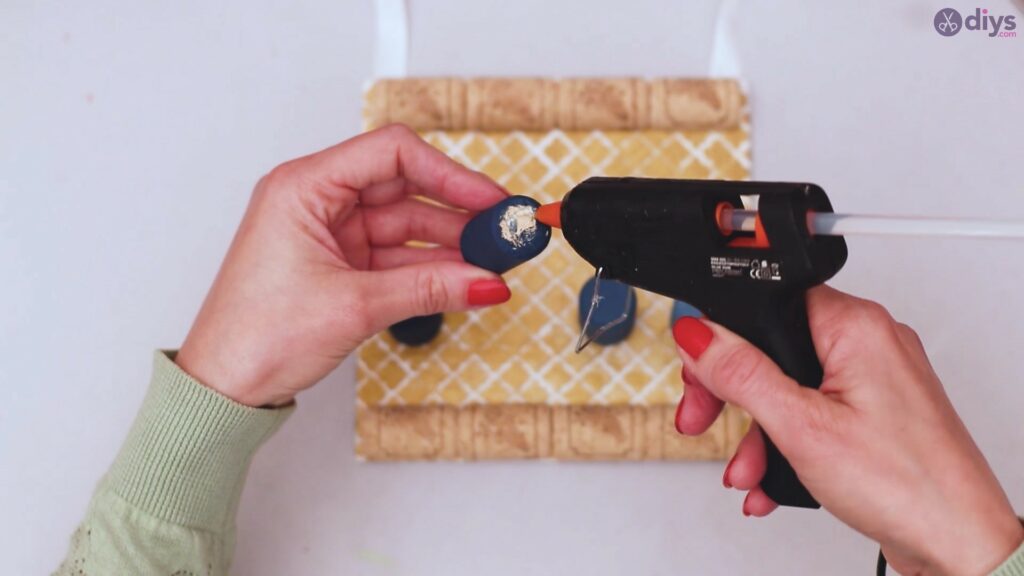
Stride seven: Add the wine cork pegs
As we already mentioned, the painted vino corks will human action as pegs that you can hang your necklaces from. And so, grab the wine corks and the glue gun and add hot glue to the bottom.
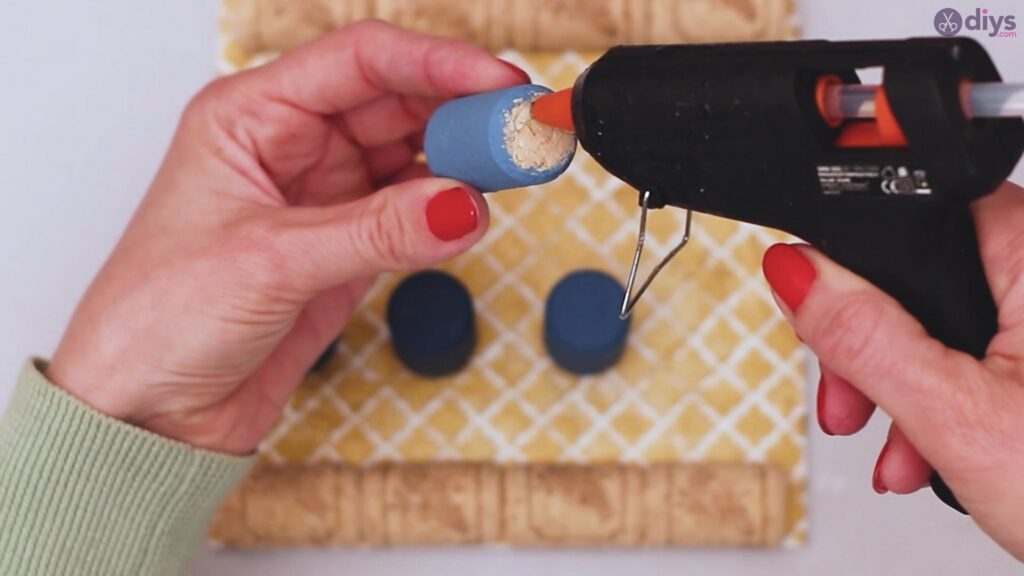
You want to add plenty of hot glue and draw a circle so it covers more surface. Don't put glue right on the border as it will push button out when you printing it to the board and it will not look equally dainty.
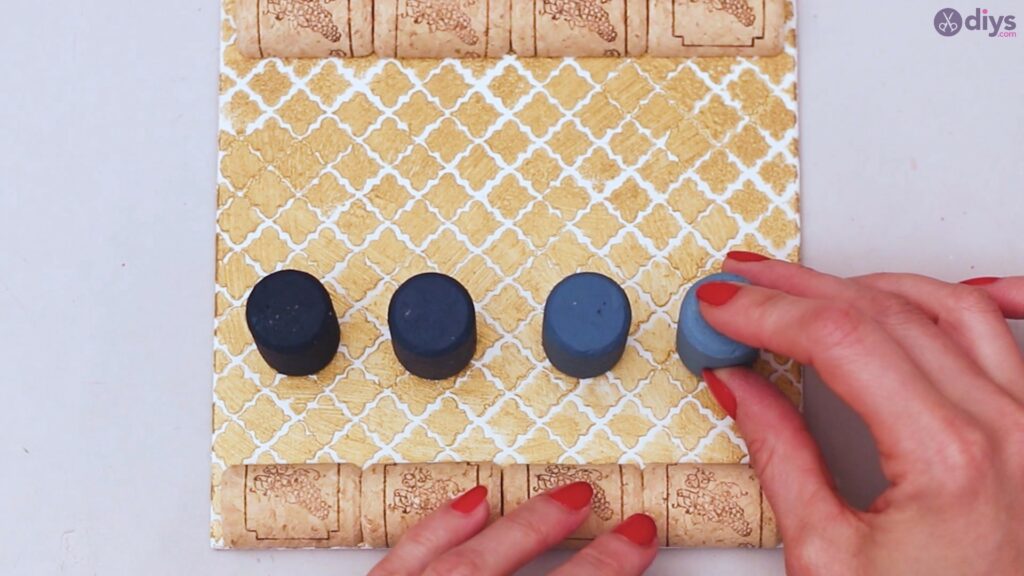
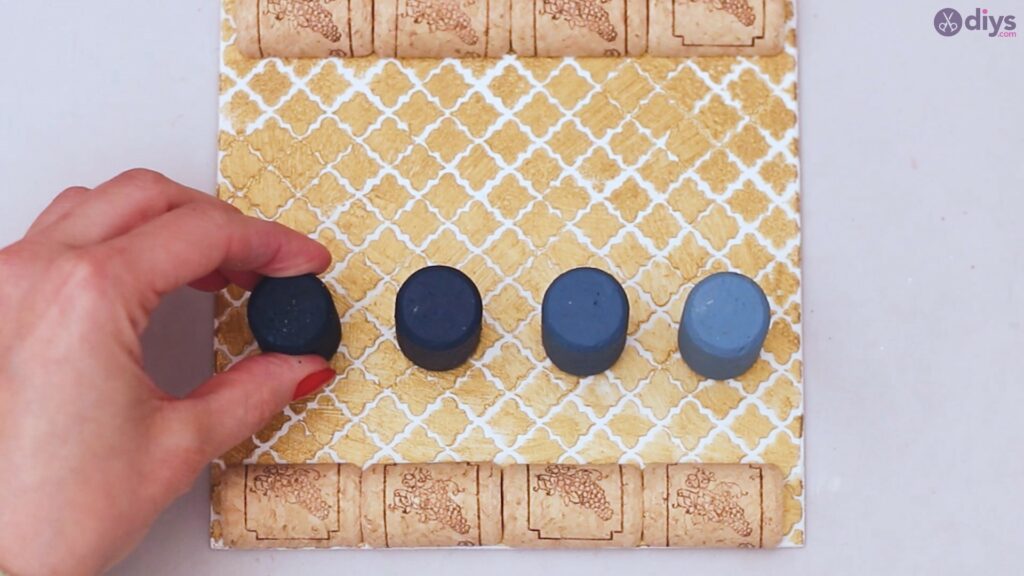
Make sure you place the wine corks at equal distances from ane another. We went with a gradient look, but you can practise your own blueprint if you want. Also, our pegs are placed in the lower half of the board, only for design purposes.
There you go! Now yous have a brand new wine cork jewelry holder and information technology couldn't look any nicer!
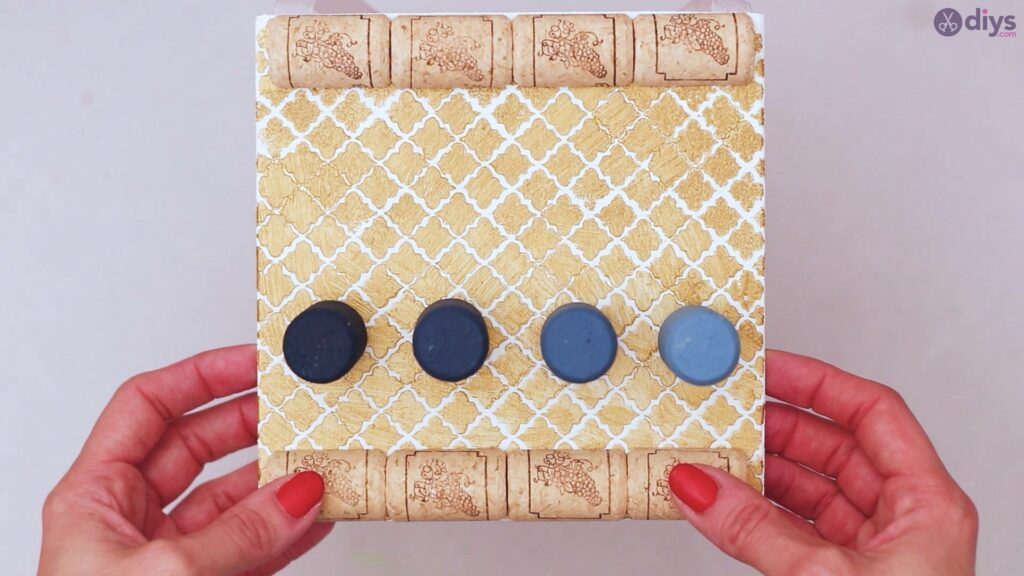
This is a cracking addition to anyone'southward closet. The best thing about this design is that you can customize it however you meet fit. If you lot take a bigger wood lath, you can utilize that one and add more wine cork pegs. If you don't like aureate, you can use a different colour. The same goes for the painted vino corks we used as pegs – use whatever color you lot like. If you don't like to have them arranged in a straight line, you can place them on different levels. Imagination is the only limit you have here.
Nosotros loved making this and can't wait to do a few more to gift to friends. Show usa your creations!
Source: https://www.diys.com/wine-cork-wall-jewelry-holder/
0 Response to "DIY Wine Cork Jewelry Holder - How to Make a Wine Cork Holder for Your Necklaces"
Enviar um comentário